
A VLE is an individual organisation’s biggest investment in assistive technology. If you have an easy to use VLE, one that is used effectively, it will meet a huge range of needs of a wide range of learners.
Why use a Virtual Learning Environment (VLE)?
- Learning anytime and any place
- Ability to use your own device to access it – you may have specialist software that helps you
- You can revisit learning as many times as you need
- Missing a lesson doesn’t mean missing junks of learning if the VLE enables you to still access it
Take a look at a course on your Virtual Learning Environment and ask yourself the following questions:
What type of content is most used in the course?
- Text (Documents – Word, PowerPoint, pdf)
- Images
- Audio/video
- Quizzes
Does it matter what format the content is, as long as it covers the required learning objectives?
Perhaps this is a question to ask your learners – What are their preferred media types? JISC asked learners with different access needs (blind/visual impairment, deaf, dyslexic and learning difficulty) and their combined least favourite was text. Often the widest used!
Isn’t it more about how the material is created and delivered rather than its format?
If accessibility is considered when resources are created, then many of the barriers disappear and better still all learners can actually benefit.
Top Tips/considerations when using different types of media.
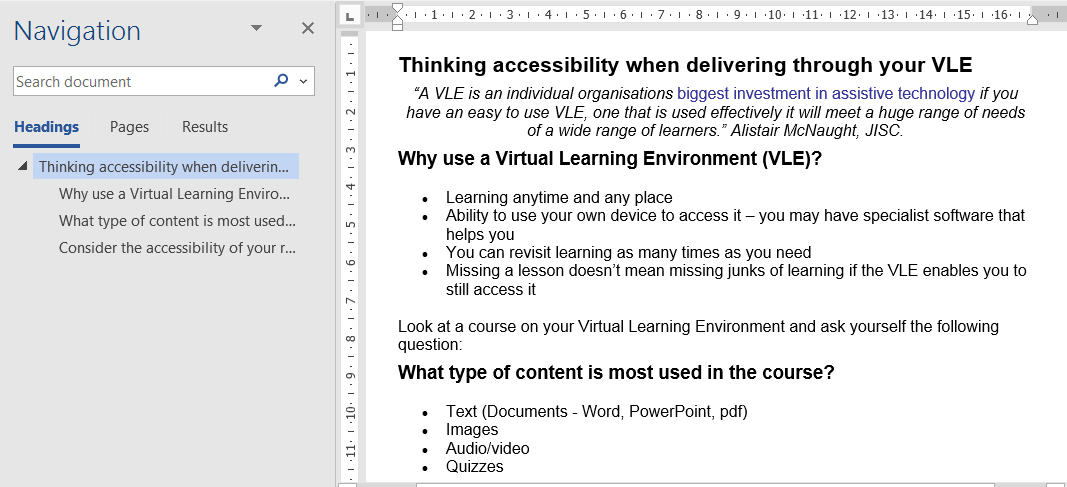
- Word – if you use style headings when you create a document learners can navigate them more easily whether or not they are using a screen-reader. In View, selecting the Navigation bar opens up a menu to quickly access the required section within the document.
- PowerPoint – Use the notes to write down the key things that you want learners to understand from each slide. If they need to recap or miss a lesson, the contents of the presentation are explained. Alternatively, provide audio for each slide.
- Documents – If using Office, then make use of its inbuilt Accessibility Checker tool [available in Word and PowerPoint]. Within your VLE provide a clear explanation to learners why they should access the document – what they will learn and/or what you are expecting them to do as a result.
- Images – consider carefully the alternative text (ALT Text) you provide for any images you upload. What does a learner who can’t see the image need to learn from it? For example, it might be an image of a man but simply writing alternative text “a man”, won’t tell the learner the man is unhappy, asleep, a famous actor.
- Audio/Video – provide key points covered in the audio/video – you could even give the video timing to jump to if videos contain different sections.
- Keyboard – make sure the resources, links and files can be navigated by using the keyboard.
- Colour/Sound – do not use colour or sound as a way of conveying information.
- Contrast – be careful about the contrast in your colours. Use the Colour Contrast Analyser as a check.
- Reflow – make sure you can use the CTRL key to magnify the text and the page ‘reflows’ so that users only need to scroll vertically.
- Screen readers – use NVDA, Windows Narrator or similar to check assistive technology screen readers recognise the content.
Useful tools and websites
- Using Heading Styles – WebAIM website
- Alternative text on images – WebAIM website
- Making your presentation accessible YouTube video – Making presentations accessible
- Education and Training Foundation SEND Exhibition website – ETF SEND Website
Written for HOLEX by Ideas4Learning Limited